

Why Airflow and Sunlight Matter for Fruit Trees
A fruit tree can look full and healthy from the outside while its interior is crowded with overlapping branches, shaded leaves, and poorly positioned shoots.
When too many branches compete for the same space, sunlight may not reach the inner canopy evenly. Fruit hidden beneath dense foliage can be harder to inspect and harvest, while prolonged moisture on leaves and fruit can favor certain fungal diseases.
That's why thoughtful pruning is about more than keeping a tree neat. For many fruit trees, it helps maintain a productive balance between vegetative growth, fruiting wood, and the space each branch needs.
However, opening up a canopy doesn't mean removing as many branches as possible. Excessive pruning can reduce the tree's leaf area, stimulate vigorous new growth, and remove valuable fruiting wood. The right approach depends on the tree species, age, training system, and growing conditions.
1. Recognize the Signs of an Overcrowded Canopy
Before picking up your pruning shears, step back and look at the entire tree. Identify where branches overlap and where growth appears concentrated.
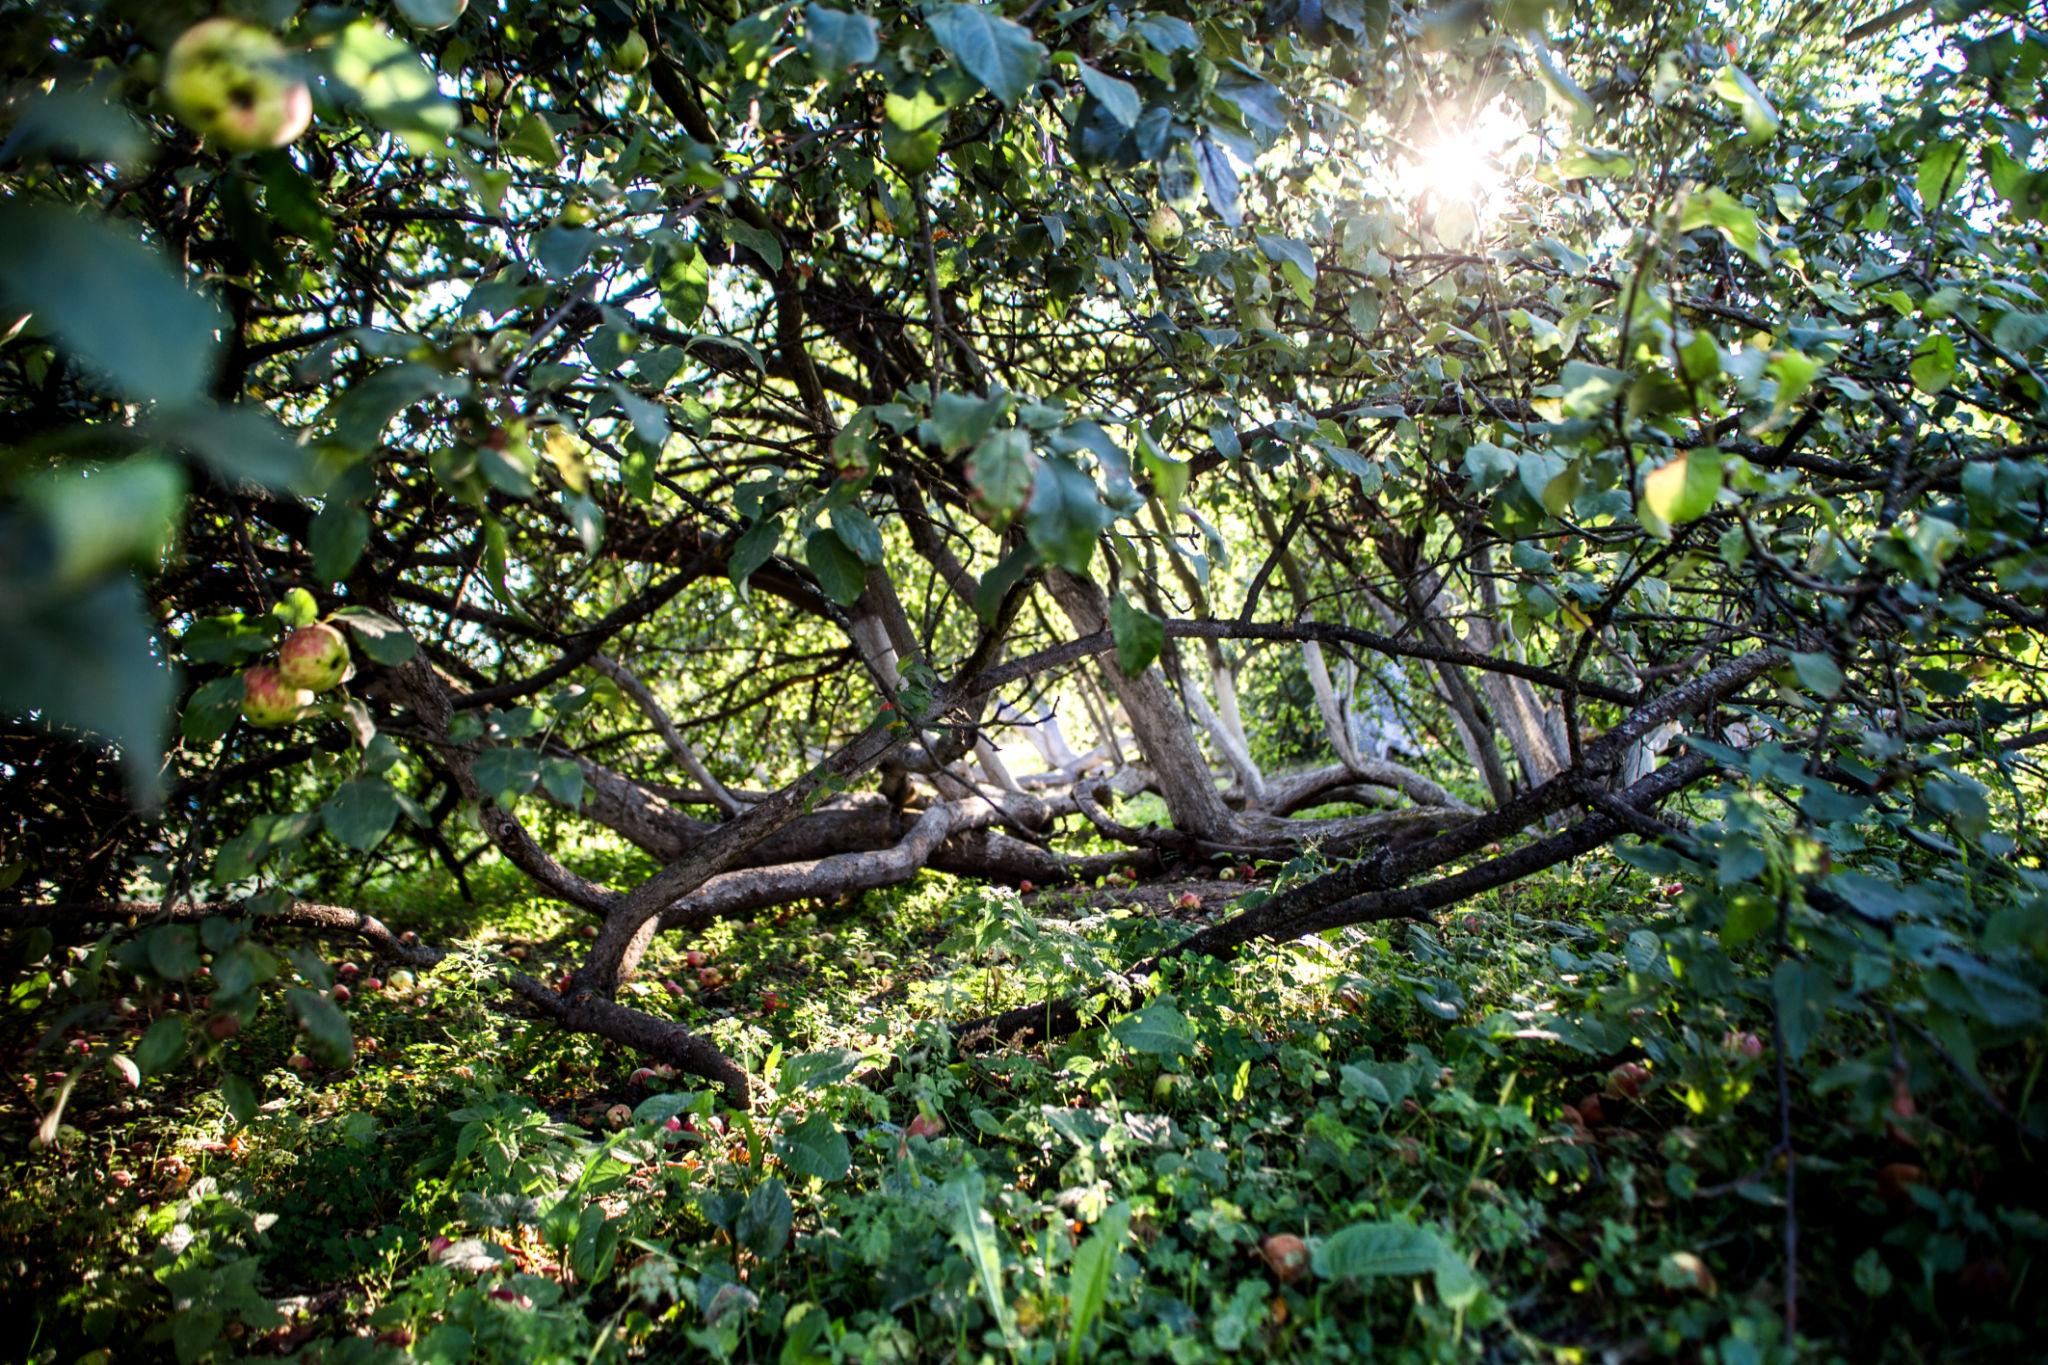
Look for these common signs:
-
Crossing or rubbing branches: Two branches occupy the same space and may damage each other's bark as they move in the wind.
-
Branches growing toward the center: These can add congestion, particularly when several grow into the same area.
-
Clusters of vigorous upright shoots: Water sprouts may crowd the canopy and compete with established branches.
-
Uneven light distribution: The outer canopy may be dense while the interior remains heavily shaded.
-
Damaged, dead, or diseased wood: These branches should be assessed separately from healthy growth and may need removal.
Not every dense tree needs extensive thinning. A tree's natural shape matters, and some species grow with naturally dense canopies. Start by identifying specific conflicts rather than assuming the entire tree needs to be opened up.
2. Decide Which Branches to Remove First
One of the easiest ways to make pruning more manageable is to work through the tree in a clear order.
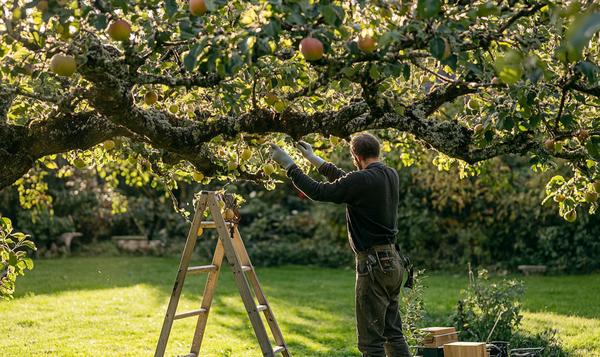
Start with dead, damaged, and diseased branches
These branches are often the first priority. Remove them using appropriate pruning techniques, taking care not to spread disease between cuts when working with infected material.
If a branch is cracked, hanging, or large enough to pose a safety risk, don't attempt to remove it yourself if it requires climbing, working near power lines, or handling heavy limbs.
Next, address crossing and competing branches
When two branches cross or repeatedly rub against each other, decide which one better supports the tree's structure.
In many cases, removing one competing branch entirely is preferable to shortening both branches without a clear purpose. Favor the branch with better placement, attachment, and direction of growth.
Then assess vigorous upright shoots
Water sprouts can grow rapidly and crowd the interior of a fruit tree. Some are candidates for removal, but not every upright shoot is automatically undesirable. Selected shoots may be useful for renewing fruiting wood or developing the structure of a young tree.
Finally, step back before making additional cuts
Once the obvious problems have been addressed, reassess the canopy. You may find that enough space has already been created.
A good pruning plan removes specific problems instead of treating every branch as a problem.
3. Understand the Difference Between Thinning and Shortening
Two pruning cuts can produce very different results. Understanding the difference helps you avoid creating unnecessary regrowth.
Thinning cut: Remove a branch at its point of attachment
A thinning cut removes a branch back to its parent branch or trunk, just outside the branch collar. It can reduce congestion while preserving the natural shape of the remaining canopy.
Reduction cut: Shorten a branch to a suitable lateral
A reduction cut shortens a branch back to a sufficiently large side branch that can continue its growth. It can be useful when redirecting growth or reducing a branch's reach without leaving an arbitrary stub.
For many canopy-thinning tasks, selective branch removal is useful. Reduction cuts have their place, too, but the remaining lateral must be suitable for the size of the branch being shortened. Arbitrary cuts between growth points can encourage vigorous shoots and leave poorly managed wounds.
4. Keep the Tree's Natural Structure in Mind
The ideal shape of a fruit tree depends on the species and how it is trained. An apple tree managed with a central leader, for example, may need a different approach from a peach tree trained to an open-center form.
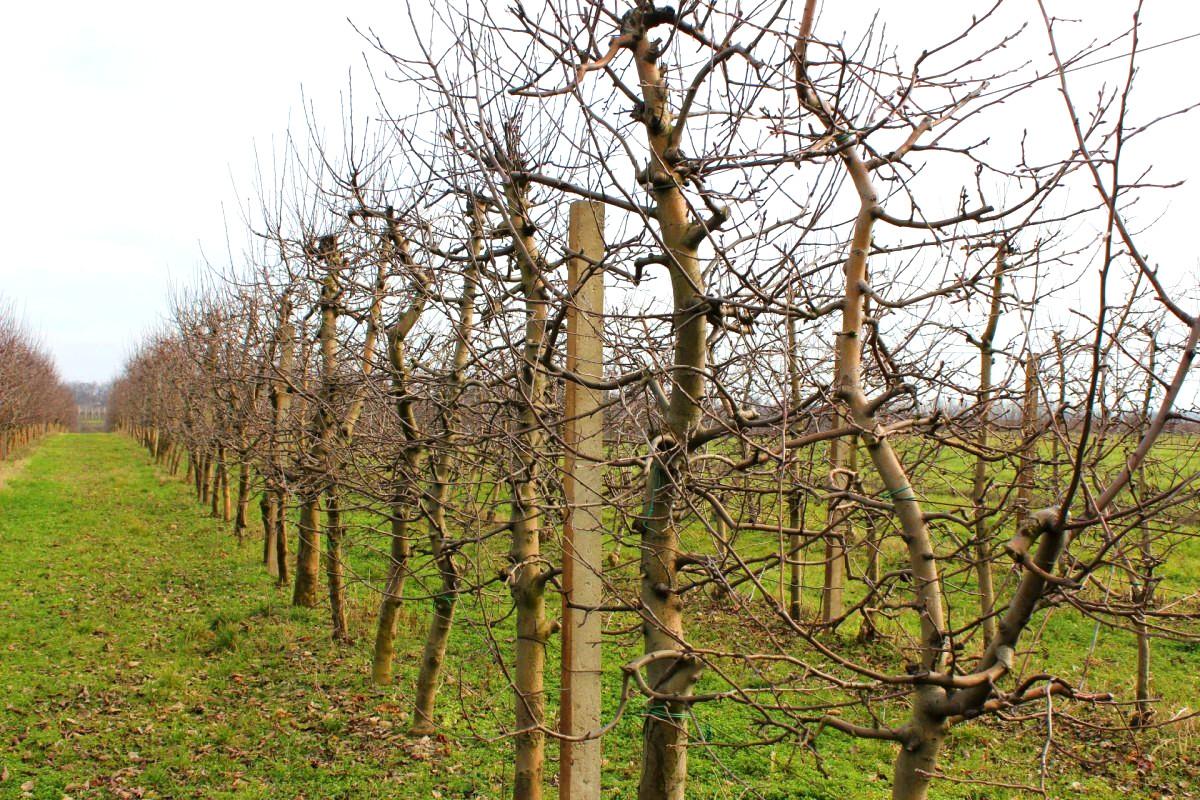
As you assess the tree, consider:
-
Branch spacing: Are major branches competing for the same space?
-
Branch attachment: Are there weak or narrow attachments that may become structural concerns?
-
Growth direction: Are branches growing into the center, crossing other limbs, or interfering with access?
-
Fruiting wood: Could a branch you plan to remove carry next season's crop?
-
Tree age: Young trees generally need structural training, while mature trees often benefit from more conservative, targeted pruning.
Different fruit species bear fruit on different types of wood. For example, apples and pears commonly produce fruit on short-lived or longer-lived spurs, while peaches bear much of their crop on one-year-old shoots. Removing every thin or vigorous branch without identifying the fruiting habit can reduce future production.
The aim is to balance light, structure, and fruit production—not simply create an empty center.
5. Avoid Over-Pruning
It's tempting to keep cutting until the tree looks perfectly open. But removing too much foliage can reduce the tree's ability to produce energy and may trigger vigorous regrowth.
Keep these principles in mind:
-
Remove the branches that create the clearest problems first.
-
Avoid stripping away large amounts of healthy growth in one session.
-
Preserve well-positioned fruiting branches.
-
Avoid topping the tree or cutting major branches back to arbitrary points.
-
For a severely neglected tree, consider a gradual restoration plan over several seasons.
A heavily overgrown tree may not be best corrected in one afternoon. Spreading corrective work over time can help preserve the tree's health and make it easier to evaluate its response.
6. Choose the Right Time to Prune
The best pruning time varies by fruit species, local climate, and the purpose of the cut.
Many established apple and pear trees are pruned during dormancy, often in late winter or early spring. Stone fruits, including peaches and cherries, can have different timing considerations because disease susceptibility and climate matter. In some regions, fall pruning of fruit trees is discouraged because it may interfere with winter acclimation.
Dead, broken, or hazardous branches may need attention sooner, regardless of the normal seasonal pruning schedule.
Before pruning, identify your tree species and check guidance from a local university extension service or qualified arborist.
Your Fruit Tree Pruning Checklist
Before making a cut, ask yourself:
-
Is this branch dead, damaged, diseased, crossing, or genuinely overcrowding the canopy?
-
Will removing it improve the tree's structure or light distribution?
-
Could it be important fruiting wood?
-
Am I removing the whole branch correctly or shortening it to an appropriate lateral?
-
Have I removed enough for now?
If you can answer these questions clearly, you're more likely to make deliberate, useful cuts rather than over-prune.
Prune With a Purpose
A productive fruit tree doesn't need to be stripped bare to receive more light. It needs a thoughtful structure, well-positioned branches, and enough healthy foliage to support growth and fruit production.
Take time to assess the canopy, remove the most problematic branches first, and work with the tree's natural growth habit.
When you're ready to prune, choose a tool suited to the branch diameter and cutting task. Prunarbo's electric pruning shears can help with suitable branch-cutting work, while larger limbs may require a different tool or a qualified professional.
Make every cut count.